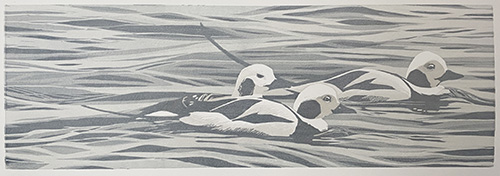
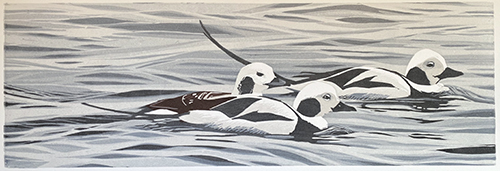
Monday, January 24, 2022

Linocut in Progress: The big finish? Yes, eventually.

Okay, enough is enough. Let's try to wrap up this current linocut, shall we? Where are we?

Right. Step 10.

After fiddling around with some spot inking in Step 9, I took my widest gauge and removed almost all of the background material from the block. There are a few small areas within the water that will still get a few more darker touches, but in general the water is finished. Which feels very odd to me, since it's all so subtle and gray. But that's what this piece is!

So now we're ready to print Step 10, which appears rather alarmingly dark on the block, but it's a transparent gray and will hopefully not feel too jarring once it's on the prints...

Reduction linocut in progress: Step 10 ready to roll

And indeed it's not too bad. 

Step 10 printed

I think it's all getting very close now, which feels strange to say because it's all so.... soft. And gray. But that was the point of the image... winter-plumaged birds in a winter-gray sea. But it just feels strange. Did I say that already? Strange.

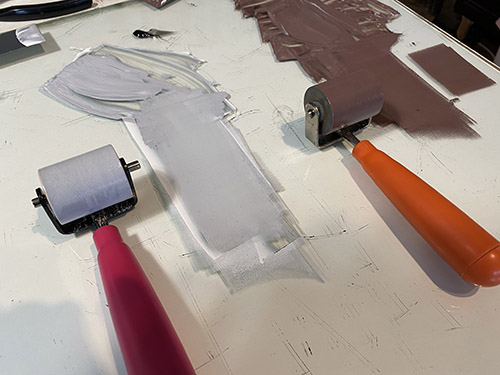
But first! There's a tiny-but-critical bit of spot inking which needs to occur, because the male long-tailed duck (for that's what these are) has a bit of pink in its bill. Can't forget to put that in! I cut a teeny tiny mask and mixed a teeny tiny bit of pink ink and...
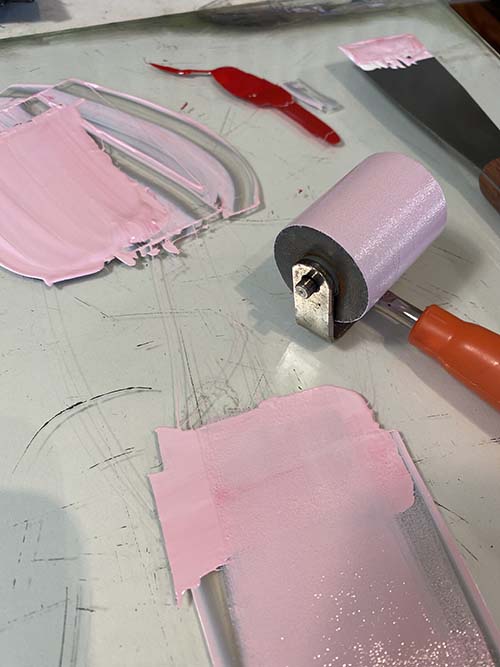
Pink ink!

Pink rollup!

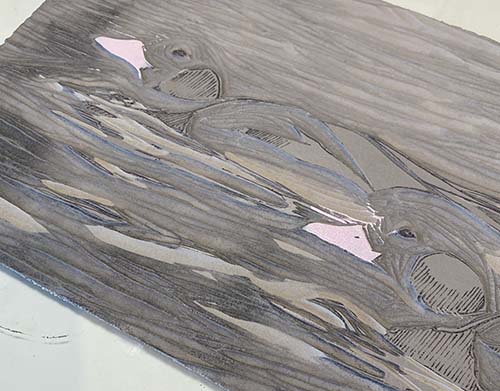
Mask with tiny pink shapes!
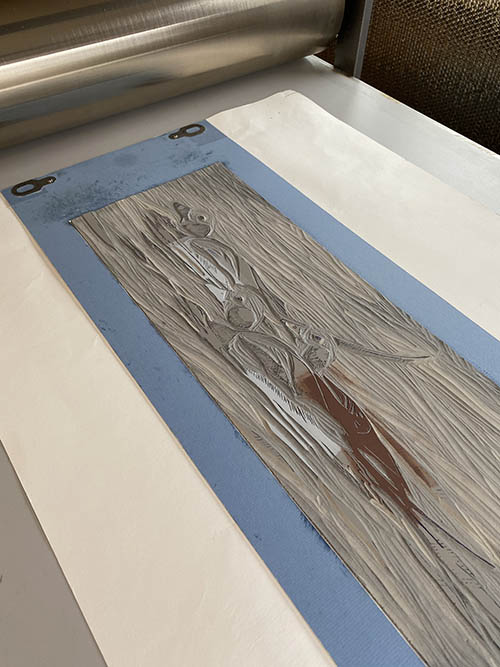
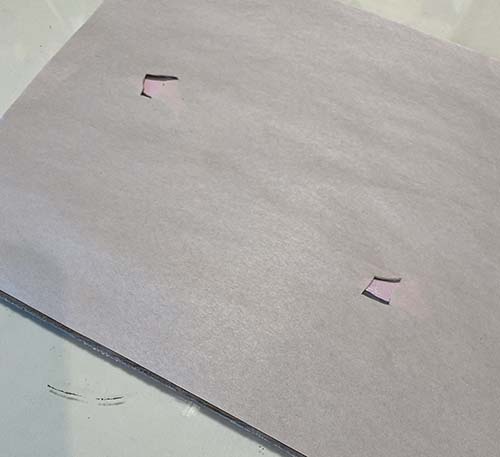
On the press!

As a side note... I could get away with this not-covering-the-entire block mask because the prints were very dry. If the prints had been at all tacky, they might have stuck to the exposed areas of the block. This is bad. Trust me. Voice of experience.

So technically I guess we call the Printing of the Pink Beaky Bits Step 11, although it hardly qualifies as an entire step. Maybe more like a wobble. 

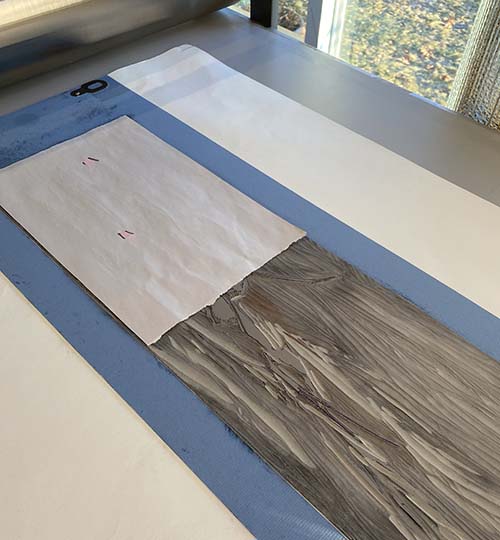
At this point I believed I could be finished with just one more color pass. I carved away most of the material remaining on the block... until all I had was this:

Step 12 rollup, a dark not-quite-black

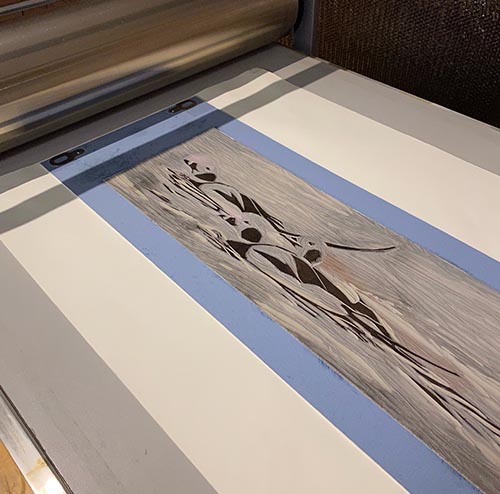
Printed they looked like this:

Step 12 printed. Is that the end?

I thought that was going to be the end, and even posted a photo of them hanging to dry in my studio. But after a couple of days something still bothered me. Something was missing. 

I decided the problem was that everything just felt too cool and flat. I had been aiming for cool, flat light... but perhaps I went too far. Technically the faces of the male birds could be a little warmer in color, which would be the obvious fix except for the fact that all the material in their faces had been carved away ages ago.

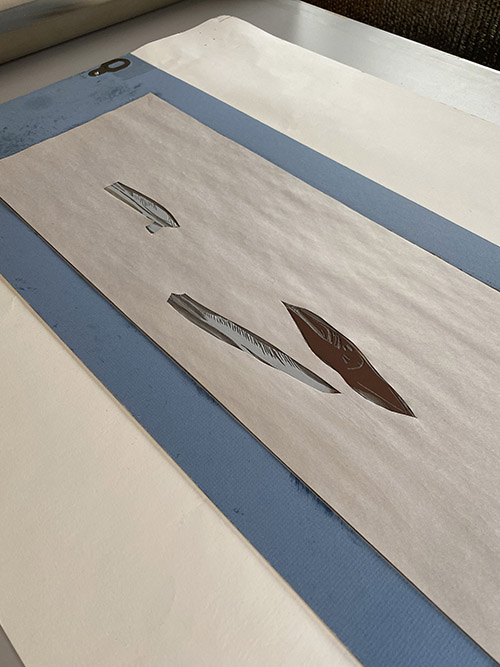
Enter pochoir. I've written about this technique a few times previously. It's a tried-and-true old method of hand coloring prints... with a stencil. I traced the shapes I wanted onto a piece of acetate and cut them out with an Xacto knife. They looked like this:

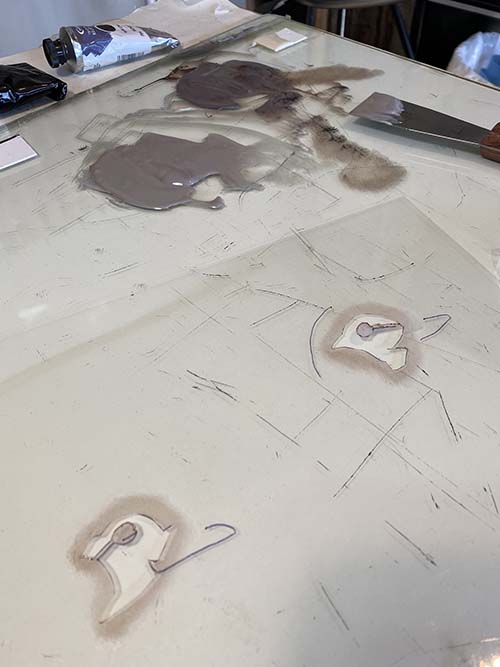
Stencil for pochoir technique.

Because my inks are so transparent, I ended up using the darker pile of ink for this step. The stencil was placed on top of each print and the color pounced into the area with a stiff brush. I then removed the stencil, placed a small piece of clean newsprint over each area of wet ink, and rubbed it gently with the heel of my hand to "strip" any excess ink.

And.... 

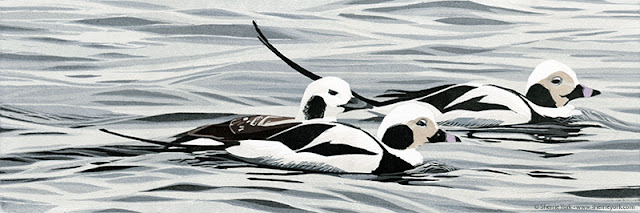
NOW it's finished. I originally thought the title would be "Three's a Crowd," but I'm not sure that's it. Sitting with an undetermined title is easier than sitting with an unfinished print, though, so while I'm thinking about that I will be getting something else underway. Stay tuned!

Wednesday, January 19, 2022

Linocut in Progress: Stumbling along

Oh, SO bad me! I have continued to work on this linocut, but have been extremely remiss in the documentation arena. To be honest, the process of this entire piece has been weirdly uncomfortable... I think because the color palette is so strangely monochromatic for me. I haven't felt at all certain of my decision-making. 

But here's how it's been going:

Step 7! It was a "simple" transparent gray over the entire block, mostly building up interest in the water and undertones in the birds. Did I photograph the rollup? Apparently not. But here's where the piece stood after printing...

Reduction linocut in progress: Step 7 printed

Things started to move a little faster after this step, as I started taking out big swathes of lino. Step 8 was another gray pass, although I think it had a little blue in it to keep things in the cooler realm. These are winter-plumaged birds in an overcast winter sea. 

Step 8 printed

At this point I realized that I had potentially let the female bird get a little too cool, since her overall plumage leans more into the brown range. Plus I had let the grays at the bottom edge of the male birds get too dark. Eek! For step 9 it was time to cut a newsprint mask and do some spot inking.

Here you can see an opaque pale gray and a semi-opaque light brown ink... and two little 1"-wide brayers ready for action.

Inks for Step 9

Here's the block on the press with the two gray areas and one brown area rather sloppily inked. But never fear....

Step 9 inked

...here it is with a newsprint mask in place. This mask will protect the prints from stray color and/or marks from the un-inked portions of the block coming in to contact with the surface of prints. 

Step 9 mask

This seems like the precise moment at which I should reveal a strange-looking photo of the prints after printing Step 9. But did I take one? Apparently not. Again. Yeah. I've been a bit unfocused lately. (Read: A lot unfocused. For a while now.)

So... all I can say is... yep... they looked strange. And in the next post I'll hopefully wrangle them back into some slightly less-strange state. Because that's what I do! Stay tuned.

Linocut in Progress: The Third Act

Time to wrap up this linocut ! And we are wrapping at warp speed (see what I did there?)... because there are deadlines. Exhibition deadline...