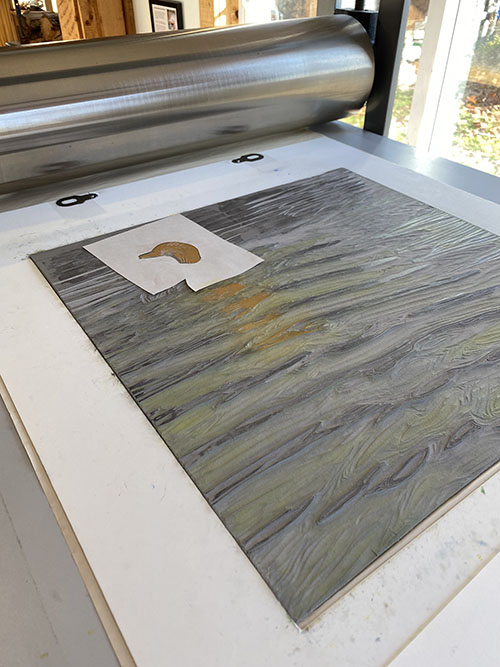
Ooph. This has been "one of those" linos. Every time I thought I was about to be finished, I discovered I was not. But now it really IS finished. Well, probably. (Wince.)
When we last left our hero, she was living under the delusion that she had but two steps to go: correcting the color on the bird's beak, and "one last dark." The phrase "one last dark" should probably always be written in quotes, and when uttering the words aloud one should employ air quotes. At least when one is me.
First to the beak. For which I have no documentation whatsoever, because I was too aggravated to remember to take any photos. Actually, no. It looks like documentation-wise I will show you the alleged "last dark" step first.
We'll call it Step 16.
 |
| Reduction linocut, Step 16 printed |
This probably was Step 16, since images I have of this stage do not show the adjusted beak (and, as we will see at the end, cheek color). The color was another transparent gray over the entire block... this time a little cooler than the previous sepia color pass. It was supposed to be (quote it with me now) "the last dark," but despite putting my fingers in my ears and singing Coldplay to drown out the nagging in my head, I sort of knew I was going to have to revisit this. But! On to the bird's head, which was also contributing to the cacophony.
A merganser's beak is really quite red, but when turned into the light it can appear more pinkish. The problem is that the side of the bird's face doesn't really appear to be as light as it should be to suggest a pink bill. So there are two problems to solve with teeny, tiny shapes. Probably NO ONE but me will care about this. But I do. So I must tackle it.
It took almost an entire day, I kid you not. Wrong colors, wrong shapes, wrong values. Ugh. So, no. There are no photos of me mixing and printing and stripping the color back out and changing it and trying again. (I did even try a red-red, but ICK!) I'm still not convinced I got it entirely correct, but it got to the point where I just had to walk away. (And eat some supper... maybe that would help?)
Anyway... here's a little detail of the more pale cheek and the pinky beak color. Seriously. I spent an entire day on that. And what do I call it? Step 17? Steps 17 through 47? We'll call it 17 (cheek) and 18 (beak) and move on.
After supper I walked back into the studio and looked at the prints hanging on the drying rack and felt my heart sink.
Yes. It absolutely needed "one last dark."
By this time I was so over the process (it happens sometimes) that I decided I would just power on, stay up, and get the thing done once and for all. I went at the block with a vengeance... using my largest sweep tool most of the time, and getting it down to the just smallest bits of necessary dark.
Like this.
 |
| Step... um... 19? block. "One last dark." |
I'm pretty much committed to this being the last stage now. I mean, how much more lino can I carve away and still have anything to print? Thankfully....
 |
| Step 19... The last dark. No, really. I'm serious this time. No quotes. |
See what I mean? Definitely needed it.
So, she's done. Kind of. 99.9% done. I am disturbed by the too-dark (oh, now it's TOO dark!) eye. This is a not-too-complicated fix... I can strip back a tiny bit of the color... but it's a tiny shape and delicate areas around the eye are still wet, so I will wait a day before getting in there with a pin-head sized piece of paper to pull off some ink.
The other thing she will need is a title, although at the moment the front runner is "Why do the things I think will be straightforward always turn out to be the opposite," and that's too long, even for a piece this size. (Which, by the way, is 18" x 18"– about 46 x 46cm for those of you using a modern, reasonable measuring system.) (Another potential is "Out of the Blue," but we'll see.)
Thanks for sticking with me through this one. The big question to answer now is, "What's next?"


