It's been a busy few weeks, with reasons good (a visit in Massachusetts with bird artist colleagues at the outstanding exhibition of friend and fellow artist Cindy House) and not so good (paperwork) keeping me away from the studio more than I'd like. But progress is being made, even if it's hard to see.
My last post celebrated the widening of the green palette of this image without applying any more green ink, and that happened one more time before I went on the road for a few days. Here's where things stood after the application of another transparent gray layer, for Step 12.
 |
| Reduction linocut in progress: Step 12 |
 |
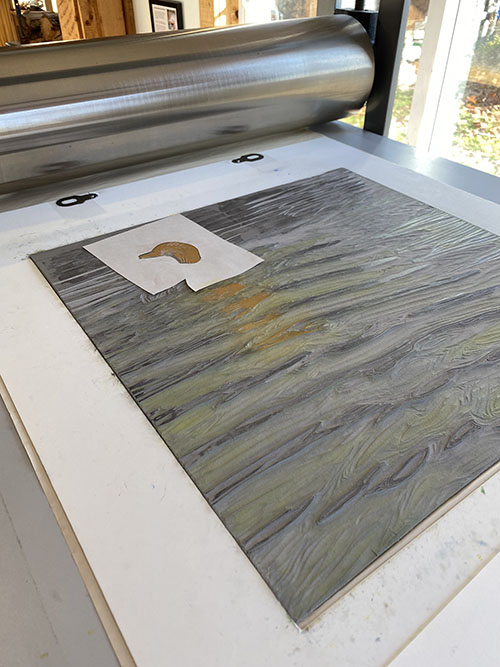
| Step 13 mask and spot ink in place |
Here's the lightened head and reflections. Perhaps a little too far in the other direction, but never fear, I'm going to cover most of this back up.
 |
| Step 13 printed (Glare-y photo, sorry) |
Yes, that's what I said. Lighten it all, and then swing it all back the other way again. I did some small amounts of carving.. tiny details that probably 90% of viewers won't even notice, but I needed to know they were there. And then another spot ink and masking adventure.
 |
| Step 14 mask and spots |
Here are Steps 13 and 14 side-by-side. You would have spent an entire day doing this, too, right?
 |
| Steps 13 and 14 detail |
I admit I was quite grumpy when The Day of Steps 13 and 14 was over. It was a lot of work with not much to show for it. The one good thing about printing small shapes over a small area with small amounts of ink is that the prints were dry enough the next day for me to do something a little more satisfying and meaningful. So... a layer of transparent sepia went over everything. It looks alarmingly dark on the block, but trust me. There's a lot of transparency there.
 |
| Step 15 rollup, sepia |
See what I mean? NOW we are finally getting close. At least I think we are. I thought we were close three steps ago, but that's how things roll around here.
 |
| Step 15, printed |


No comments:
Post a Comment