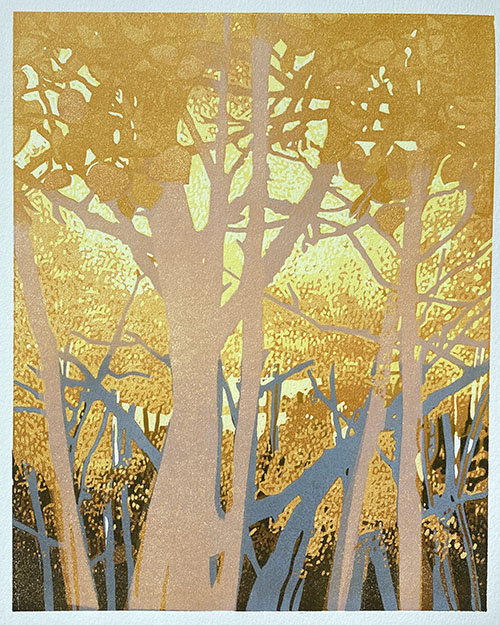
Cattywampus, in case you didn't know, is a technical printmaking term. It can be used to refer to registration problems, but in my studio it's just a catch-all phrase for the entire middle section of most image creation. As in, "now it all goes cattywampus."
Case in point:
 |
| Reduction linocut in progress: Step 8 rollup |
In my previous post I had the audacity to suggest that I had a sort of plan (shocking!) for these tree trunks... that rolling some white ink over the top of existing color could suggest reflected light. We'll see now, won't we?
You might note that it's not strictly white that's rolled up here... it's white with a skosh (another technical printmaking term) of purple in it. Because: complimentary color theory. Also, the color isn't rolled everywhere, as this white-over-color business is all about the tree trunks.
 |
| Step 8 printed |
Hm. Sort of. It's not really the effect I am going for yet, but never fear! I honestly didn't expect it to be quite right yet. I just wanted to prevent everything from going too much darker at this point.
So now... what's next?
 |
| Step 9 rollup |
Wait, what? Yep. It's official. Sherrie has lost her marbles here. I'm sure there was some sort of logical reason for me to jump back in to this rather alarming color.... but at the moment what I was thinking eludes me.
 |
| Step 9 rollup |
Ha! Just kidding. I knew it all along. Look at that lovely, toned-down-but-too-dark, reflective-looking color in the main tree trunks. Don't mind that bright blue in the branches. I'll do... something.... about it. Later.
 |
| Step 10 rollup |
How about another layer of almost-white?
 |
| Step 10 printed |
Oh, ye of little faith! (Why yes, I am looking at myself, too!) We can still pull this off, yes?
Let's do a lot of carving in the meantime, and then start detailing these trunks....
 |
| Step 11 rollup |
At this point I apparently lost track of a step, at least where photography was concerned. Here's Step 11 printed:
 |
| Step 11 printed |
But there was a Step 12... more trunk/branch details and another pass of brownish gray that I didn't record except for this photo:
 |
| Steps 11 and 12 side-by-side |
Getting close now, and I was finally starting to feel like I might pull the whole thing off despite myself. There's hardly anything left on the block at this point, so not much more fussing around I could do, anyway!
 |
| Step 13 rollup |
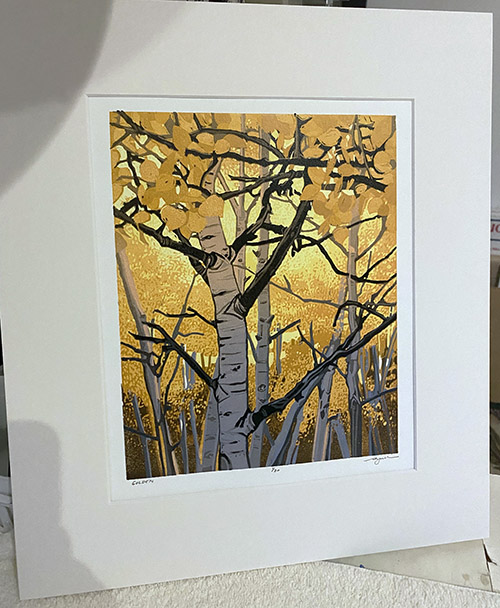
And the final image, at last!
 |
| "Golden," reduction linocut, 10" x 8" Edition of 20, ©Sherrie York |
Whew! Got there in the end. Another "simple" image of "a few yellows and some blues in the tree trunks" finally finished. (Note: insert eyeroll emoji here.)
So what's next? I think I'm moving on in the seasons and going to tackle a small snow scene. I've got a solo exhibition coming up in October and need to expand my inventory of smaller work, so I'll be sticking with this 8x10 format, or thereabouts!


