 |
| Linocut in progress: Step 12? Maybe? |
So here's the thing....
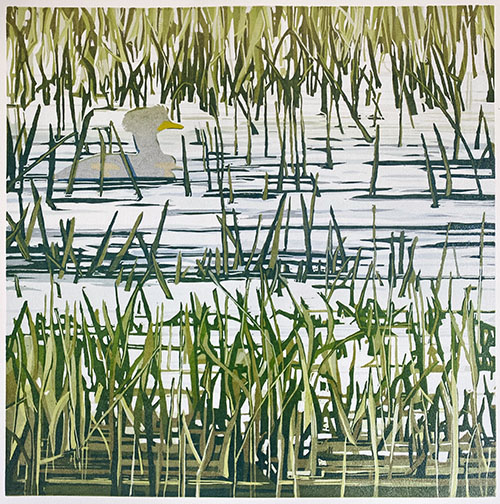
I have been doing so many passes on this current linocut... most of which have involved various iterations of gray and blue and green... that I have completely lost track of where I am. For example, I have this photo of a rollup with grays and blues... but I'll be darned if I can figure out if I have a photo of the result of this color pass. I might have forgotten to take one.
Obviously, it's beyond time to take a break from all these crazy grasses and start doing something with the inhabitants of our weedy pond.
There are some fiddly little bits to work on, and while this sort of work is usually something I tend to avoid, I am ready for some steps that take less time to envision and execute.
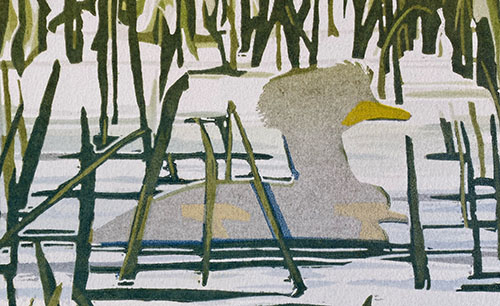
So let's spot ink a few bits of birds! The adult bird has a wee bit of yellow in her bill, and the chick(s! Yes, there are two of them!) have some sort of buffy color in the lower half of their faces.
 |
| Linocut in progress: Mini-step 13 spot inking |
Easy enough to roll up, but this messy sort of inking will affect the ink layers to come, so I will also need a mask.
This one is cut from plain newsprint. It's not too fussy, just enough to get that color roughly where it needs to be while protecting the rest of the print. The ink lines on the paper are guides to show me where to place the mask each time.
 |
| Mini-step 13 mask |
Here's a detail of the result:
 |
| Mini-step 13 printed detail |
And a look at the print overall:
 |
| Mini-step 13- printed |
Now that I am committed to making some progress on the birds, things are going fairly quickly. I think there was gray color pass that went over the entire block... but maybe not. As I said, I've lost track. I do have photos of some of the little "mini-passes" that have started to build up the birds:
 |
| Mini-step 14 |
Aha! You thought I was joking when I said there were two chicks in this image, but I would never joke about a thing like that. Now we can at least see where they are! We can also see a few "halos," places where inexact masking let some color creep into edges where it's not wanted, but I didn't worry about this when I was printing earlier stages because I knew that the later details of these birds would cover those halos with dark ink in another color. You'll just have to trust me on this one.
 |
| Mini-step 15 |
Whew. That's enough for one day, don't you think? In truth I've already done a couple more of these mini-passes, but you don't expect me to show you everything all at once, do you? Where's the fun in that?
Stay tuned....


No comments:
Post a Comment