Today I choose to be amused by the dance I'm trying to master, the one that swoops semi-gracefully from illustration project to framing to gallery delivery trips to workshop prep to packing (or at least piling up stuff in the corner)... and once in a while to the studio.
There's a fair bit of improvising involved in this particular cha cha. Yesterday I was to make the journey to deliver work to Ann Korologos Gallery in Basalt, but was thwarted by snow over much of the state– particularly on the high mountain passes I am obliged to cross to get from this side of the Continental Divide to that side.
So instead I made a cuppa and shuffled to the studio in my slippers and got to work.
The morning's task was straightforward: A nice, somewhat darker yellow over the entire block:
 |
| Step 3 printed (embiggenable with a click) |
Of course there's no chance that things will ever stay straightforward when I'm lino-ing. From this point my next step should either be a light green most everywhere OR a deep red in many small areas.
I want both the green and the red to be "pristine," clear hues, but printing either one over the other will certainly muddy things up. It's that whole complementary color issue, in which colors opposite each other on the color wheel (i.e. red and green) will gray each other out. I could resort to using very opaque inks, but they would still be influenced by the already-printed yellow and they'd wreak havoc with subsequent color passes. And besides, I want my colors to stay luminous, not flat and chalky.
This is one of those times when cutting a separate block for each each color pass might be more efficient than reduction printing, but reduction's what I do, so....
It's clear that masking is required... and whether I cut one mask to cover the green or many small masks to cover the red I am in for a tedious few hours. But, hey. It's not like I'm going anywhere today.
 |
| Shapes traced onto mylar sheet |
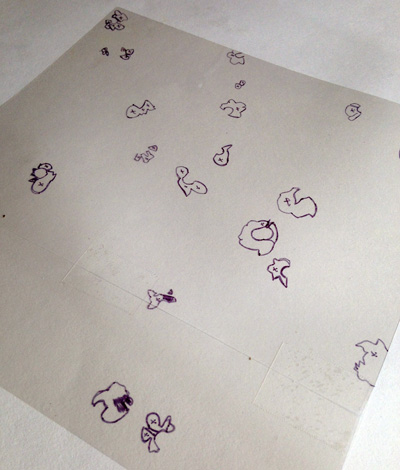
Masking, Step 1: I placed a clear mylar (acetate) sheet over the lino block and traced all the little areas where I want red. See what I mean about tedious? No matter how I approach this mask I will still have to cut out all these little bits. Multiple times. Not my favorite thing, but it's no one's fault but my own. Xacto knife, here I come.
 |
| Homemade confetti, anyone? |
Masking, Step 2: Once I cut all the little shapes out of the mylar sheet I used it as a template to trace those shapes back on to newsprint. And then... (wait for it).... I cut out the shapes AGAIN. Fortunately I could clip a couple of sheets of newsprint together to cut more than one mask at a time. But let me tell you, I was heartily sick of these things by the time I finished.
 |
| Spot-inked block |
Masking, Step 3: Inking. Finally. Because I'd be using the mask I could do some rather sloppy spot-inking, and I was very happy to be sloppy at this point.
 |
| Mask in place over inked block |
Masking, Step 4: I put the block in place on the press and positioned the newsprint mask on top of it. Each print-in-progress is then placed image-side-down over this whole conflagration and printed.
 |
| Mask "stuck" to print, but only slightly |
Masking, Step 5: Because the previously-printed yellow ink was damp, the newsprint mask stuck to the print each time. It wasn't a problem because the yellow ink was thinly applied and didn't "grab" the mask very much. A little yellow was "stripped" from the prints when I peeled off the masks, but not enough to matter. The best thing I can think of to describe the level of "stuckness" is like static electricity... if that makes sense.
 |
| Color pass 4 completed. (Embiggenable with a click) |
Here's the print once I peeled away the mask. Masking can be very tedious, but in the long run it's worth the effort. Of course now I have to cut all those little shapes AGAIN, this time from the block itself, but it shouldn't take too long and the next color pass should be a satisfying overall green. At least that's the plan at the moment!


that red pops of the paper against that yellow! its lovely :D
ReplyDeletehow late in the year do you have to deal with snow?
Snow. Bah. Hopefully we're done now, although that's what I said two weeks ago. Late spring storms are not uncommon, but this year I have no patience for them!
DeleteI have some stencils to make for a class I'll be teaching next week. I'm not sure if you just brazened me to get going on them or to put it off a few more days.
ReplyDeleteLove seeing your process in all of these. Your results are always amazing.